
Today I have been playing with a new stamp set from Woodware

and one of our new 6x6 paper packs from Websters Pages


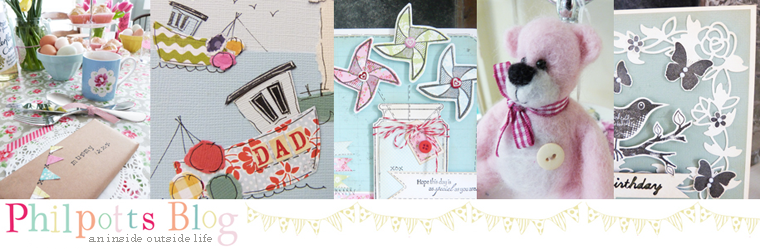
I stamped the bird image directly onto the card with a Brilliance (Graphite Black) ink pad. I also stamped parts of the image containing the leaves onto a couple of sheets of paper from the paper pad and trimmed the leaves out.
I edged the leaves with a little sponge and Peanut Brittle Memento Ink pad {very fiddly I know but I think that it adds to the vintage feel of the card}.
The paper leaves were then stuck on top of the black leaves on the base card with a glue pen
Using the black Brilliance ink pad again I stamped the small flower in several places around the branch and stamped one of the sentiments in the bottom right hand corner.
I created the bunting by snipping little triangles from the papers in the pad (edged with the memento ink again)and stuck these into position {leaving the bottom part of each triangle without any adhesive on so that I could roll the bunting up a little to make it look as if blowing in the wind!}
Finally I added a few 'x' along the bunting with a black gel pen to look like little cross stitches or kissses and added some stitching in each corner with a white gel pen.
Envelope
As the card was quite delicate I thought that it would look nice sent with a lined envelope.

To line the envelope I took an envelope to fit the card and positioned it against a sheet of paper from the paper pad.
Using a pencil I drew a line around as much of the envelope that would fit onto the paper {it is not essential to draw all the way around the envelope just what you can see here in the picture}

{I have moved the envelope down a little so that you can see where I drew with the pencil}.
Trim around the pencil lines.

Draw a line (roughly 1cm) in from each side of the trimmed shape (don't worry if you think that it all looks a little unsymmetrical - it will!
Add the dotted line at the bottom joining the lines on each side together.
Cut around the dotted lines and add some double sided tape at the back of the trimmed piece.
Push down into the envelope so that the triangular part at the top sits below the gummed line on the envelope. Stick into place.
To finish I added a stitched line with a black gel pen to neaten the cut edge.

******************
No comments:
Post a Comment